Afraid to Dye Your Hair? Try This First
Transform Your Look with Custom Color I-Tip Extensions:
A Guide to Low-Commitment Hair Color
*This post contains affiliate links*
Are you ready to explore new hair colors without the commitment of dyeing your natural hair? Custom color i-tip extensions might be the perfect solution. This guide breaks down the process of installing i-tip extensions, the benefits of custom color, and the tools and products that ensure your extensions look flawless.
Why Custom Color I-Tip Extensions Are
Ideal for Trying New Colors
If you've been hesitant about coloring your hair due to concerns over damage, custom color i-tip extensions offer a great, damage-free way to try new shades. Here’s why they’re an amazing first step:
No Damage to Natural Hair: Unlike traditional dyeing, extensions don’t expose your hair to harsh chemicals, protecting it from potential dryness, breakage, and loss of curl definition.
Temporary & Low Commitment: Extensions let you enjoy a new color without a long-term commitment. If you want to try something new, simply switch out the extensions.
Minimal Upkeep: Color-treated natural hair often requires frequent touch-ups. Custom-colored extensions maintain their shade, making them a low-maintenance alternative.
Preparing Hair for Extensions: A Step-by-Step Process
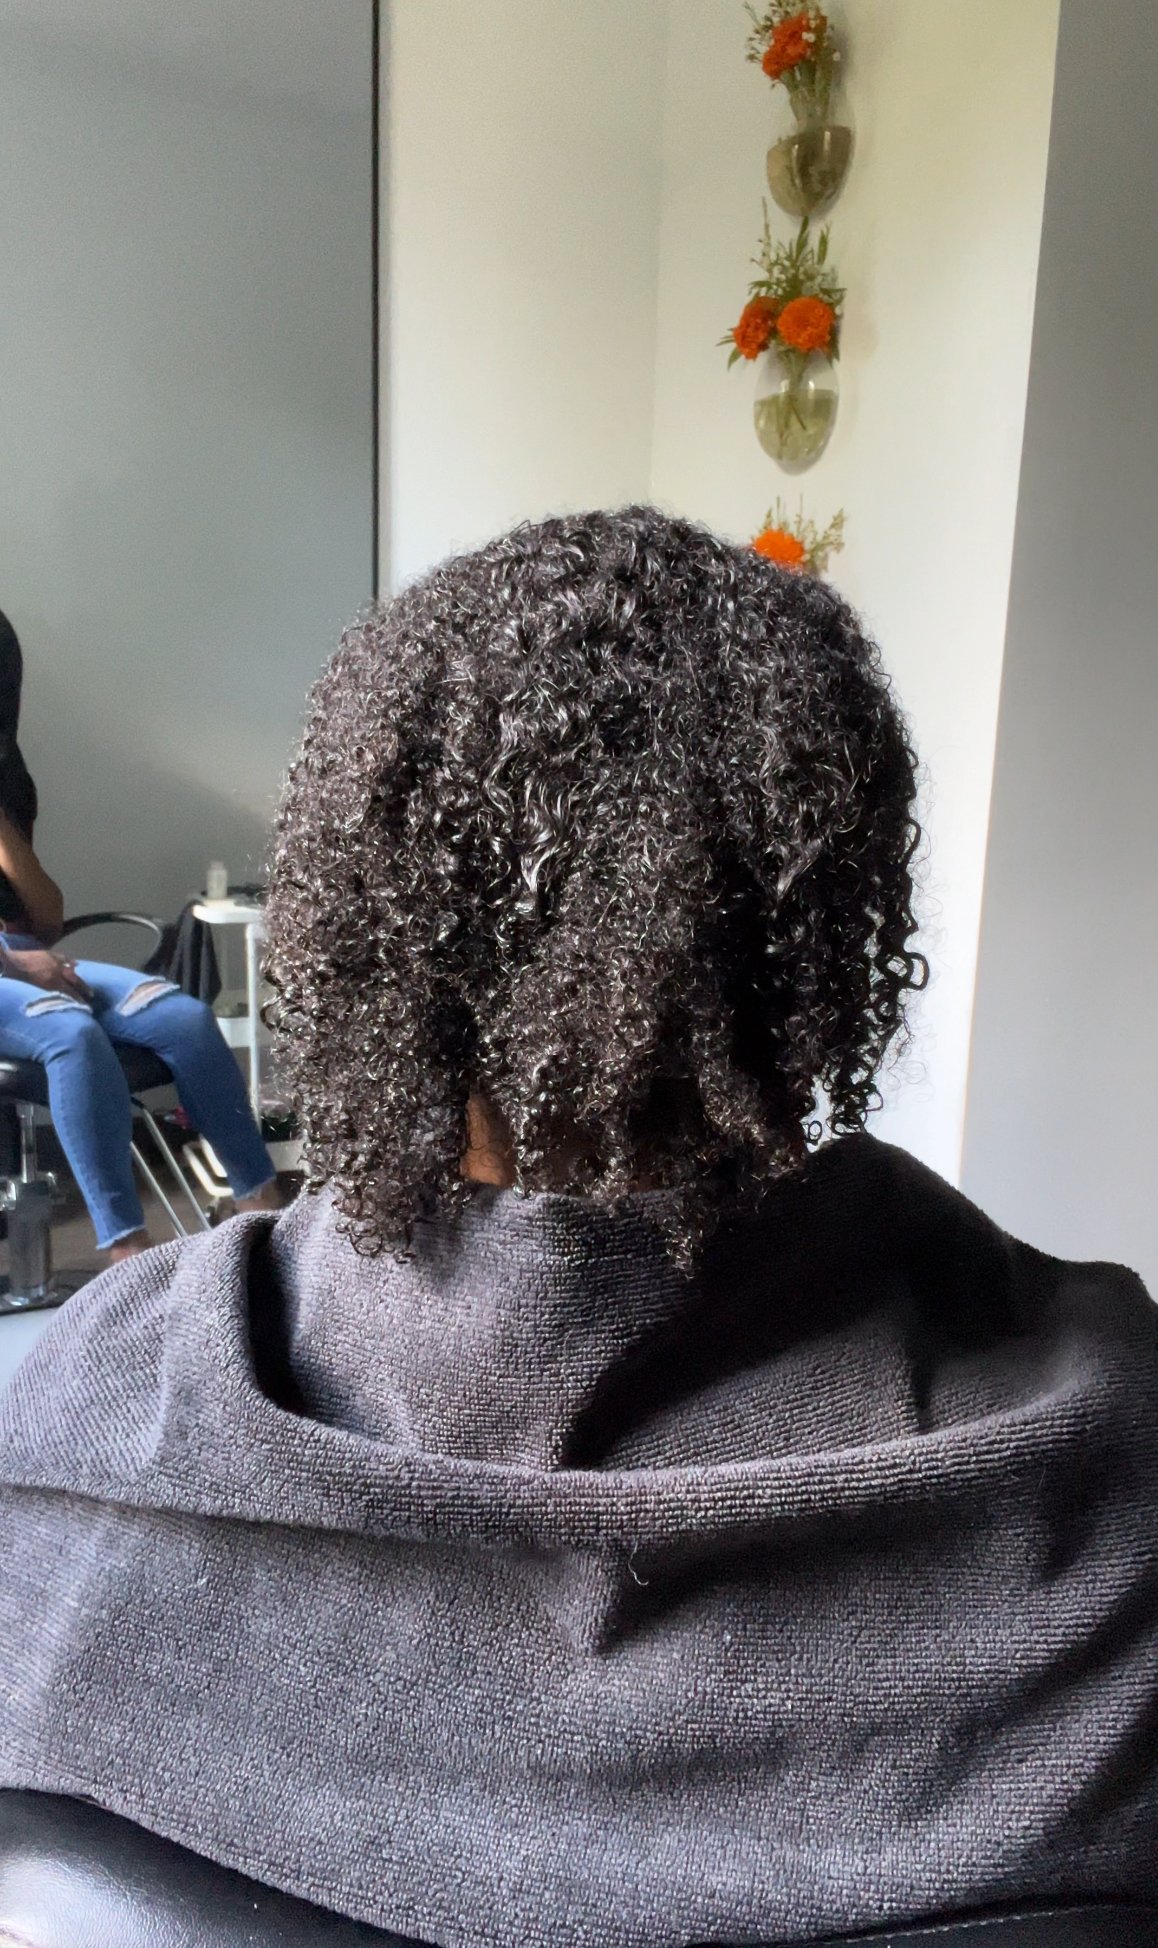
Before installing extensions, I always prepare the hair with essential products to ensure both the natural hair and extensions are in prime condition.
Step 1: Bond Building Treatment with Olaplex
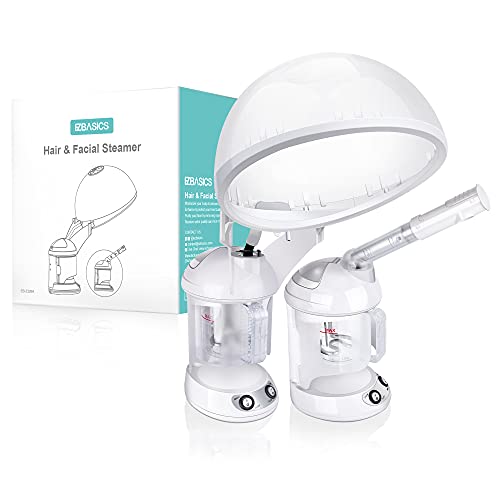
I started with an Olaplex treatment, a bond-building treatment designed to strengthen and repair hair from within. Olaplex is especially beneficial before extensions, as it helps prevent breakage and restores elasticity. Paired with a hair steamer, this treatment penetrates deeply, locking in moisture and adding strength. This foundation keeps extensions long-lasting and damage-free.
Step 2: Shampoo and Conditioning
For shampooing, I used a moisture-rich shampoo that hydrates without weighing down the hair. Since my client has fine hair, it’s important to avoid heavy products that can leave the hair feeling greasy.
After shampooing, I applied a Deep Repair Treatment conditioner, a salon favorite with both moisturizing and strengthening properties. This deep conditioner, infused with keratin proteins, adds softness and strength—a perfect balance for hair preparing for extensions.
Step 3: Scalp Massage
While the deep conditioner processed, I gave my client a scalp massage to increase blood circulation and relax her scalp. This step is especially helpful in relieving tension and preparing the scalp for the upcoming install.
Step 4: Applying a Lightweight Leave-In Conditioner
To prep for blow-drying, I applied Emergency Miracle Treatment Leave-In Conditioner. This lightweight leave-in is perfect for fine hair, offering deep moisture without weighing it down. Its lightweight formula penetrates deeply into the hair shaft, ensuring long-lasting hydration.
Step 5: Blow Dry Cream for Smoothness
I then applied Le Deux , a blow dry cream on top of the leave-in conditioner. Blow dry creams are essential as they help smooth out the hair, reduce frizz, and keep it hydrated, reducing the need for excessive heat. The result is a smoother blowout with minimal damage.
Step 6: Seal with Amethyst Oil
Lastly, I used Amethyst Oil to lock in moisture and add shine. This lightweight oil also includes heat protection, leaving the hair smooth, shiny, and ready for styling.
Installing Custom Color I-Tip Extensions
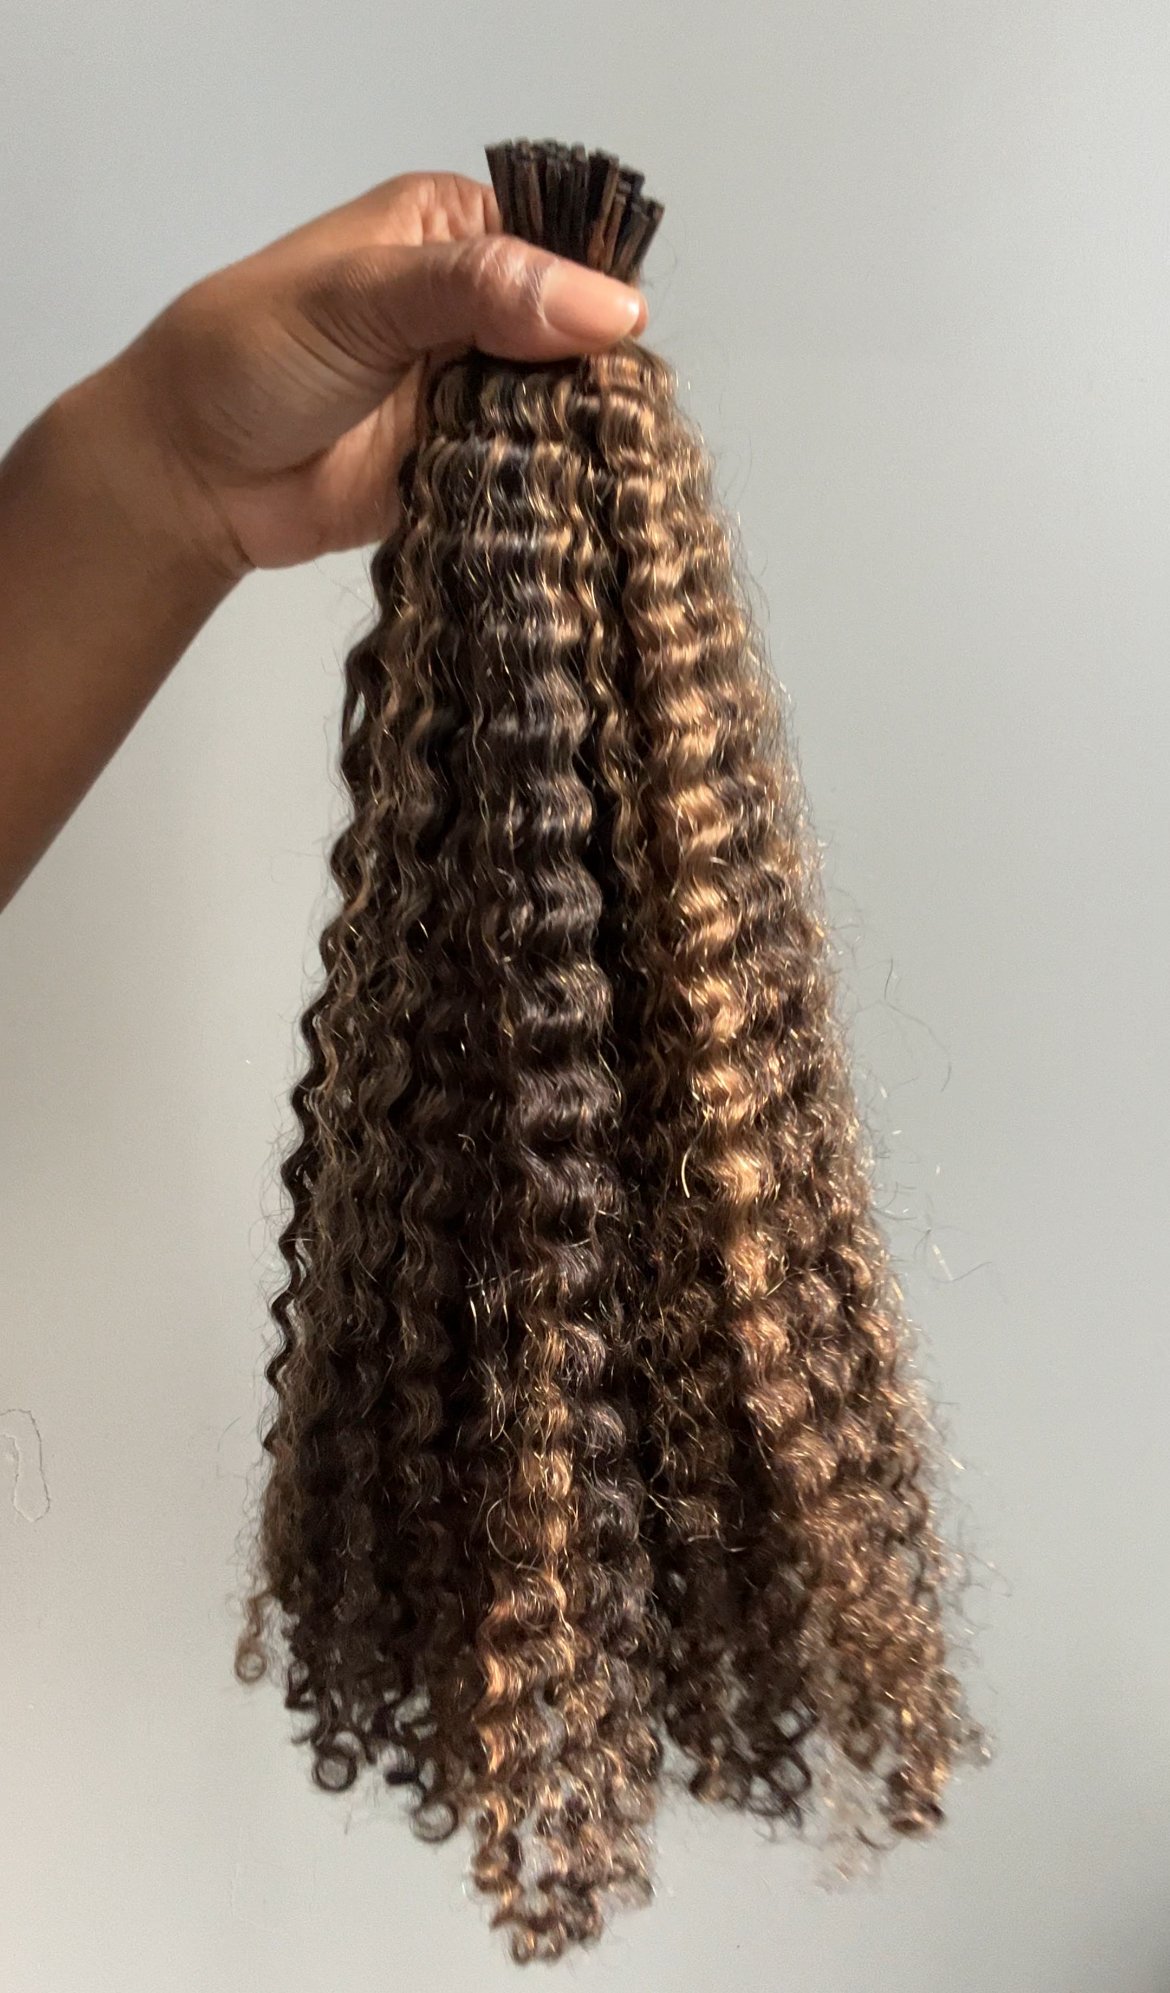
I used custom color i-tip extensions in a natural black mixed with honey blonde, created specifically to match my client’s desired look. Here’s how i-tip extensions work and why they’re great for curly hair:
Strand-by-Strand Method: I-tip extensions are attached using a small bead that secures each strand to your natural hair. This method is gentle on the hair, as it doesn’t require heat, glue, or adhesives.
Full Control Over Hair Care: Because all your natural hair remains out, you can maintain your routine. This is especially important for curly textures to ensure continued hair health.
Customization and Versatility: I-tips make it easy to add pops of color throughout your hair. They’re low-maintenance once installed and can last for months with proper care.
Styling the Extensions: Wash-and-Go and Straightening
To style the extensions, I applied an amplifying foam for hold and definition. Lightweight with buildable hold, the foam gives a firm, long-lasting hold without weighing down the curls. I then used a hair diffuser to dry and activate the product, creating frizz-free, defined curls.
For versatility, we also silk-pressed the hair, showcasing how the color and extensions blend seamlessly with her natural texture. The natural black and honey blonde highlights looked vibrant and full of movement.
Final Thoughts:
Why Custom Color Extensions Are a Game Changer
Custom color i-tip extensions are perfect for experimenting with color without the commitment. Here’s a quick summary of the benefits:
No Commitment: Easily swap out colors without damaging your natural hair.
Low Maintenance: Less upkeep compared to color-treated hair.
Versatile: Choose between wearing your hair curly or straight for an adaptable, natural look.
Custom color i-tip extensions are an amazing, low-commitment way to explore new colors. With the right prep and care, you’ll enjoy a beautiful, damage-free look that complements your natural beauty.


