I-tip Hair Extensions 101
Everything You Need to Know About
I-Tip Hair Extensions for Curly Hair
If you've ever considered adding length and volume to your natural hair without compromising its health, I-tip hair extensions might be the solution. In this blog, we'll break down the process of installing I-tip hair extensions, discuss their benefits for curly hair, and share essential maintenance tips to help you get the most out of them.
What Are I-Tip Hair Extensions?
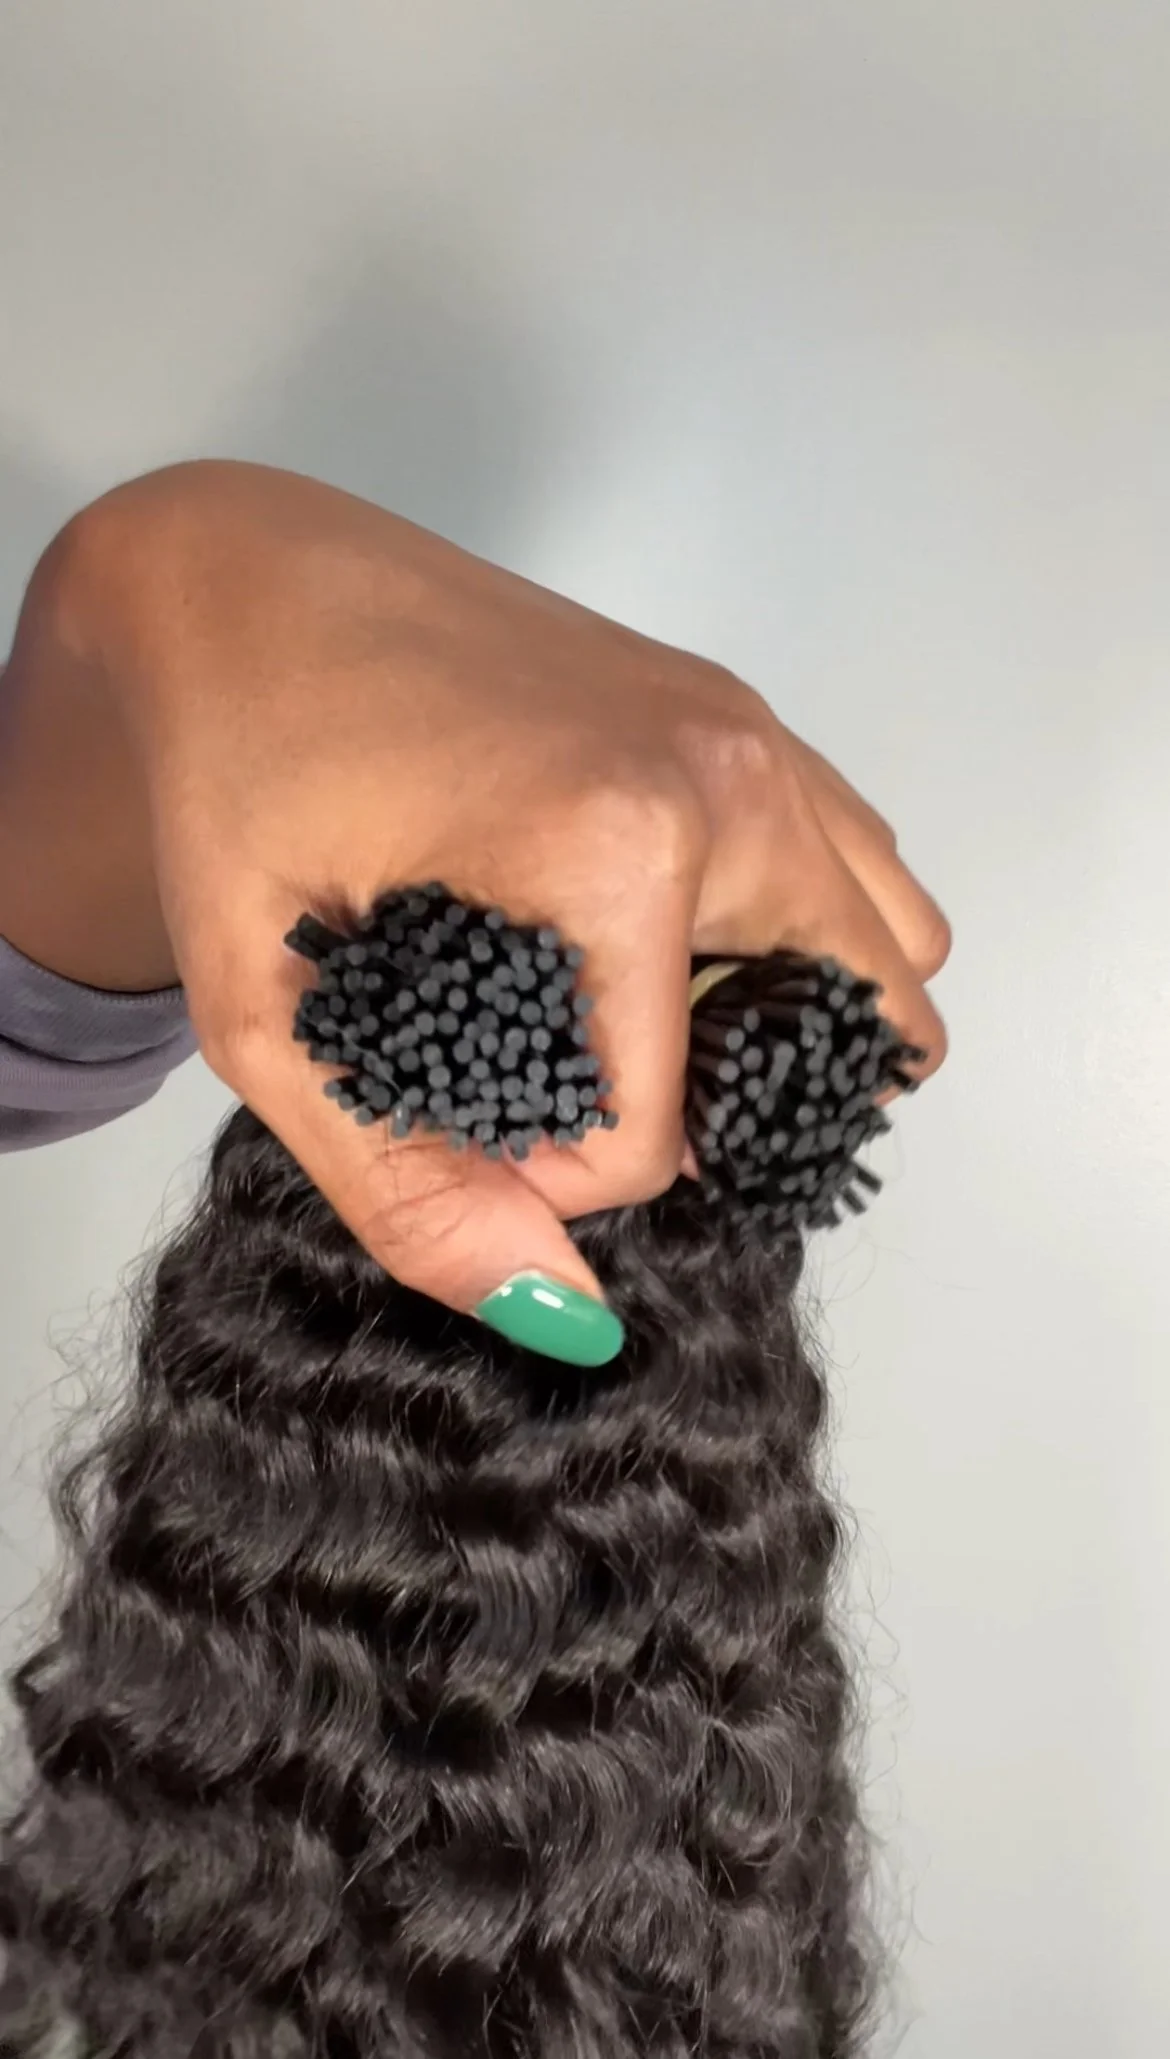
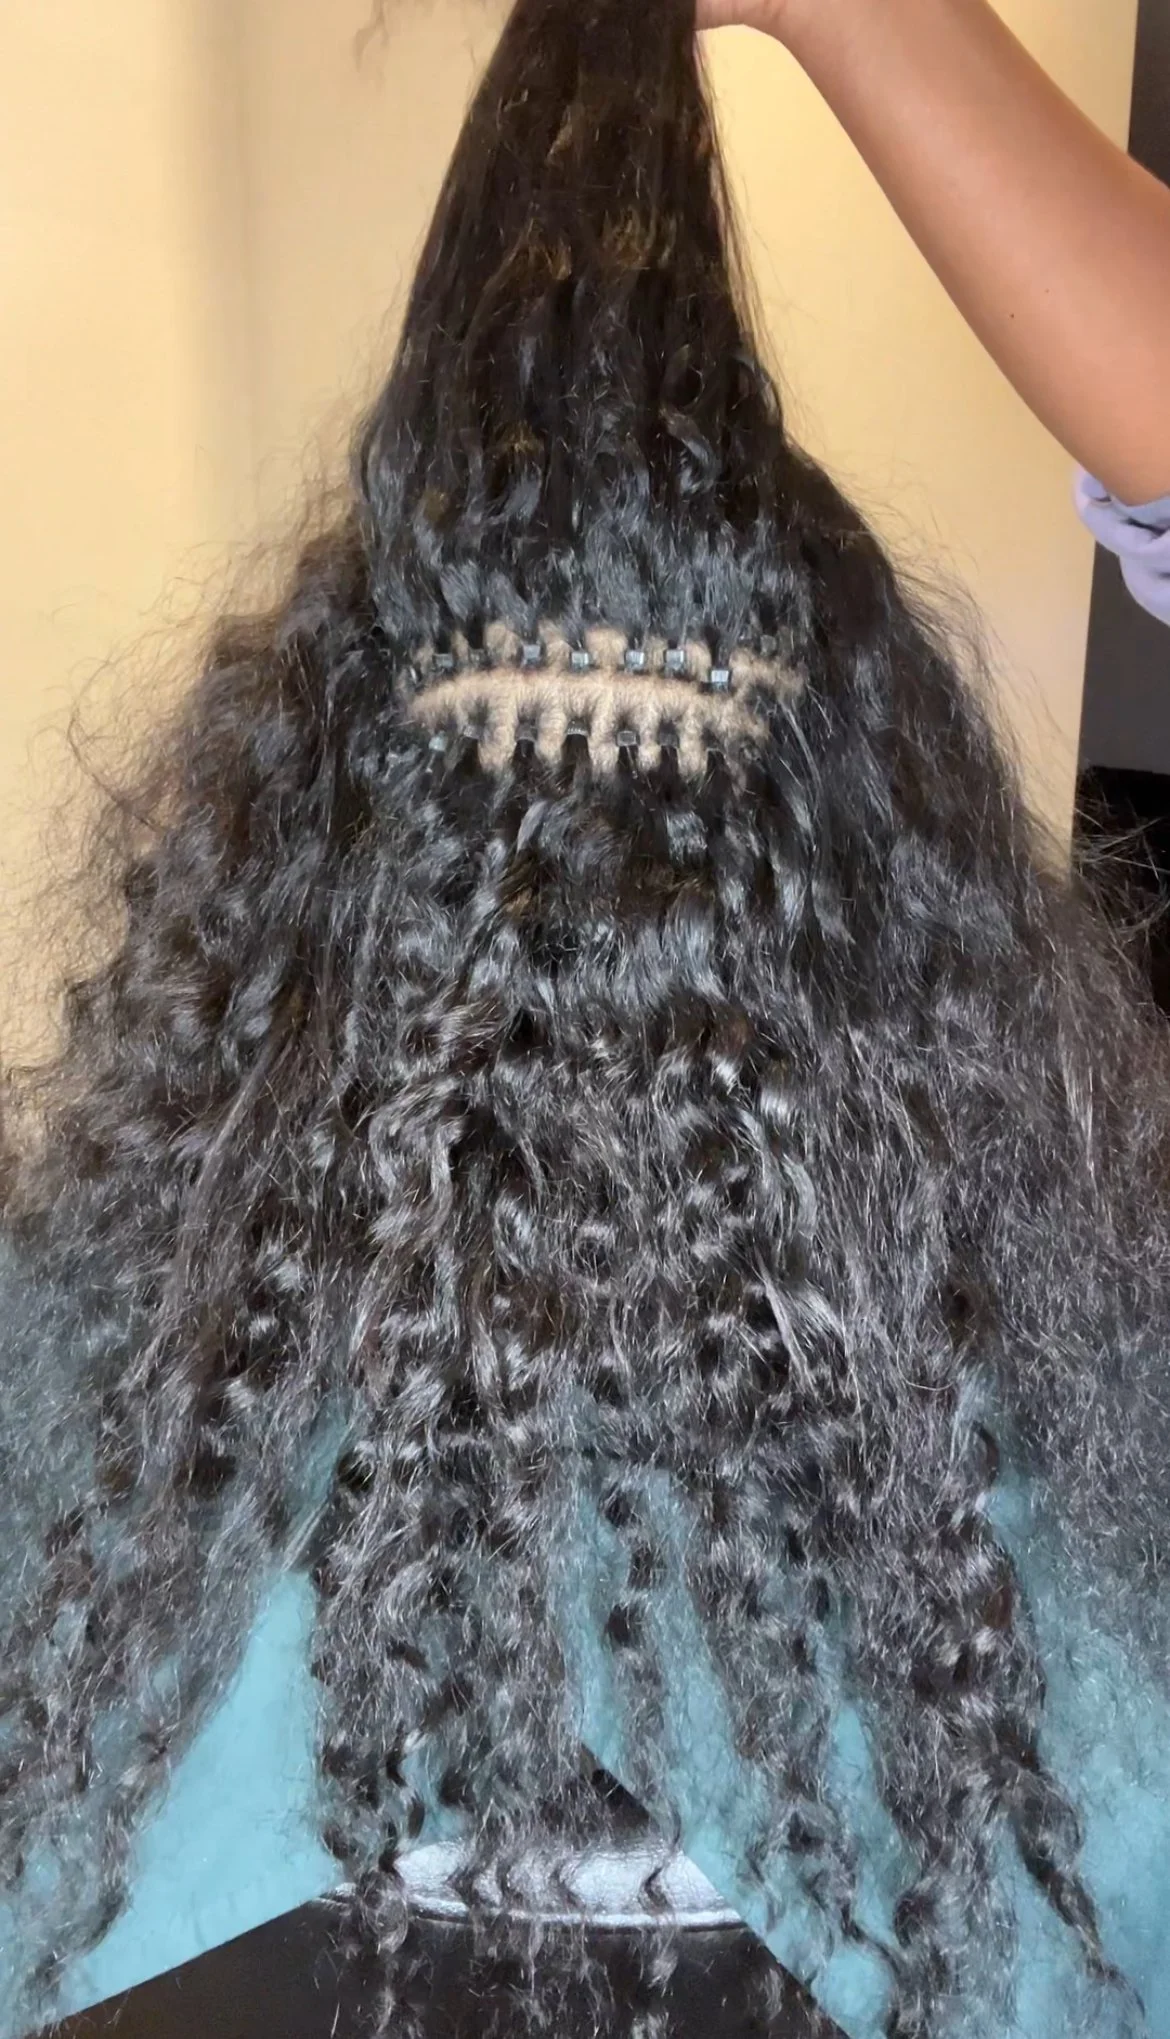
I-tip hair extensions, also known as micro-bead or micro-ring extensions, are individual hair strands that are attached to your natural hair, strand by strand, using small beads. Unlike traditional weft extensions like sew-ins or wigs, I-tips offer a more versatile and customizable installation that blends seamlessly with your natural hair. The small, keratin-tipped extensions are looped through the natural hair, providing a more natural look with added volume and length.
Why I-Tip Extensions Are Perfect for Curly Hair
Curly hair can sometimes be tricky to manage with traditional extensions, but I-tips offer a great alternative because they give you full access to your scalp. This means you can maintain your regular hair care routine, including washing, conditioning, and styling without restrictions. The strand-by-strand method also allows for a natural-looking finish, making it perfect for curly hair textures, especially when paired with kinky curly I-tip extensions, which match the curl pattern beautifully.
The Installation Process
The first step before installing I-tip extensions is preparing the hair properly. Here’s what I used during the process:
Emergency Miracle Treatment – A lightweight leave-in conditioner from my curly hair care line that helps keep your hair moisturized for longer.
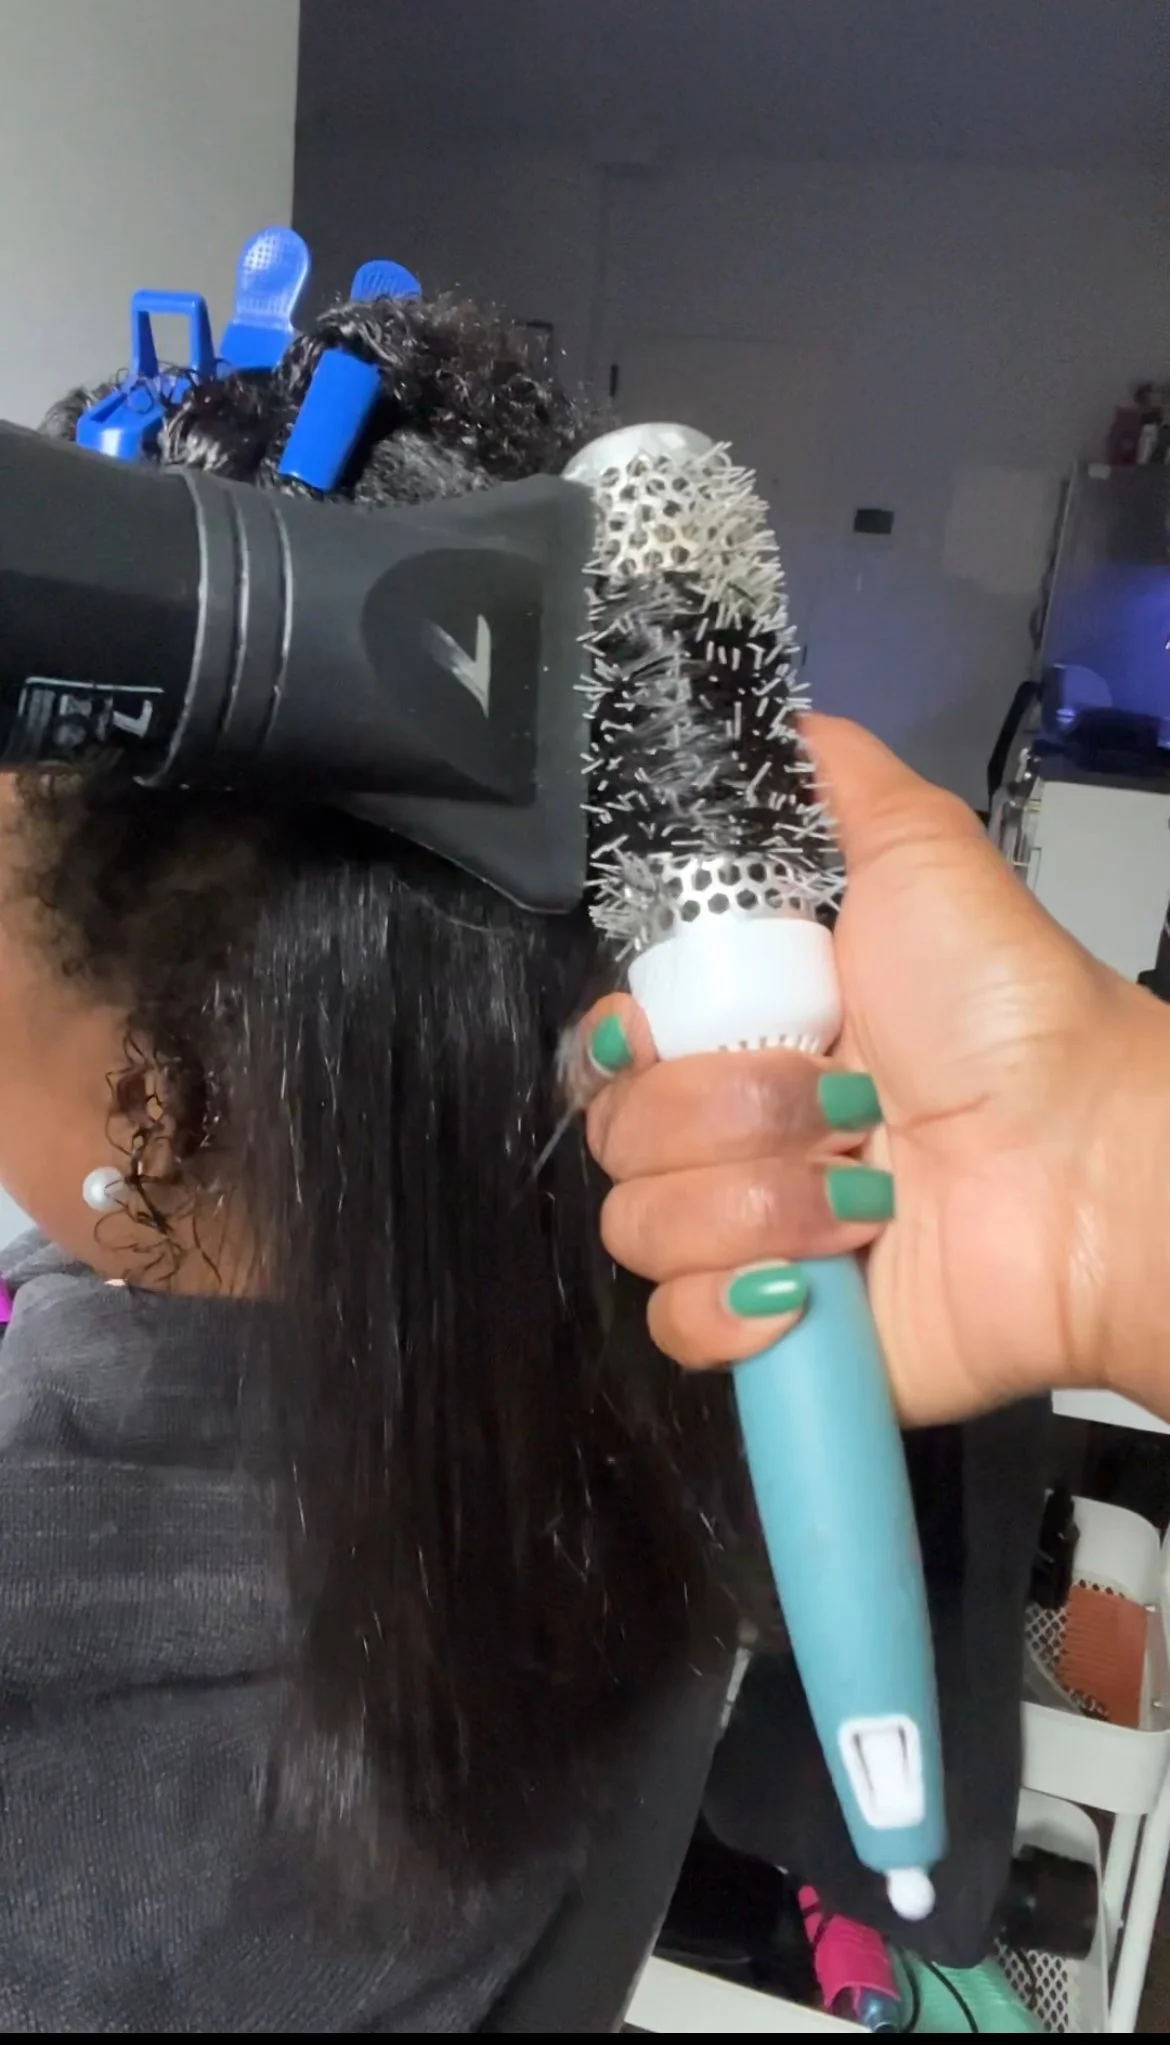
Le Deux – My go-to blow dry cream, offering heat protection while ensuring that the hair stays moisturized after blow-drying.
Amethyst Oil – A lightweight oil that adds shine and seals in moisture, providing added heat protection.
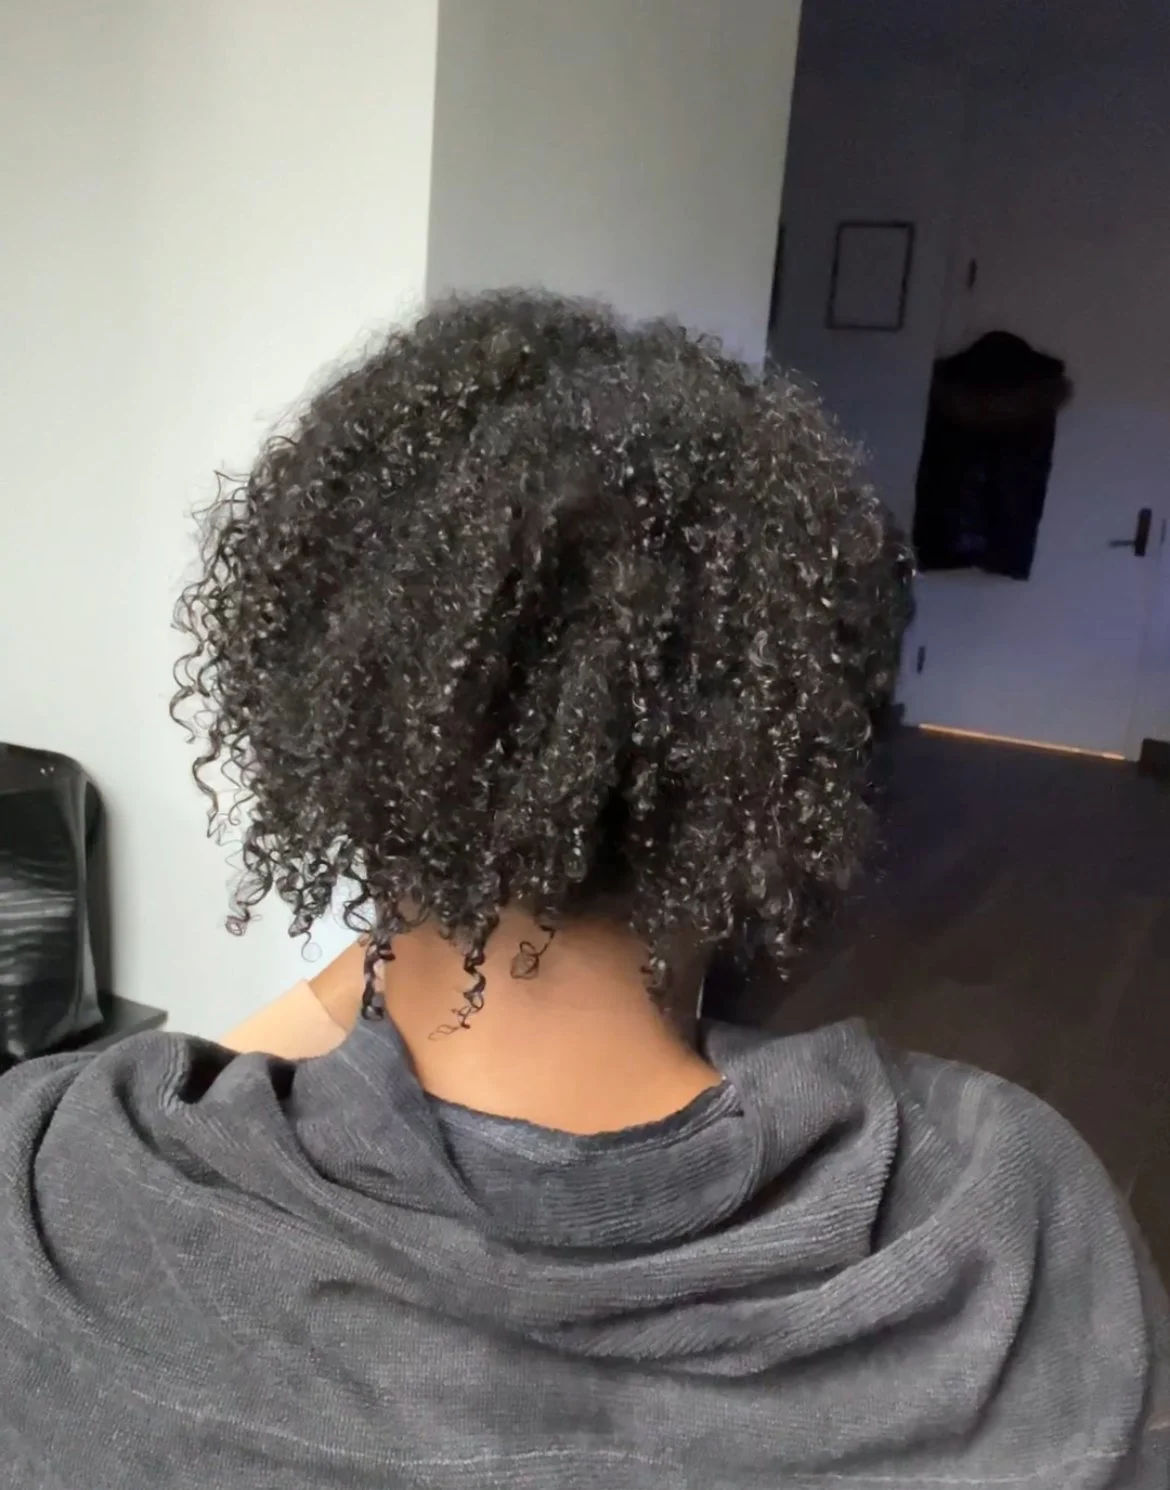
After applying these products, I blow-dried my client’s hair, prepping it for the extension installation.
Tools Used for Installation
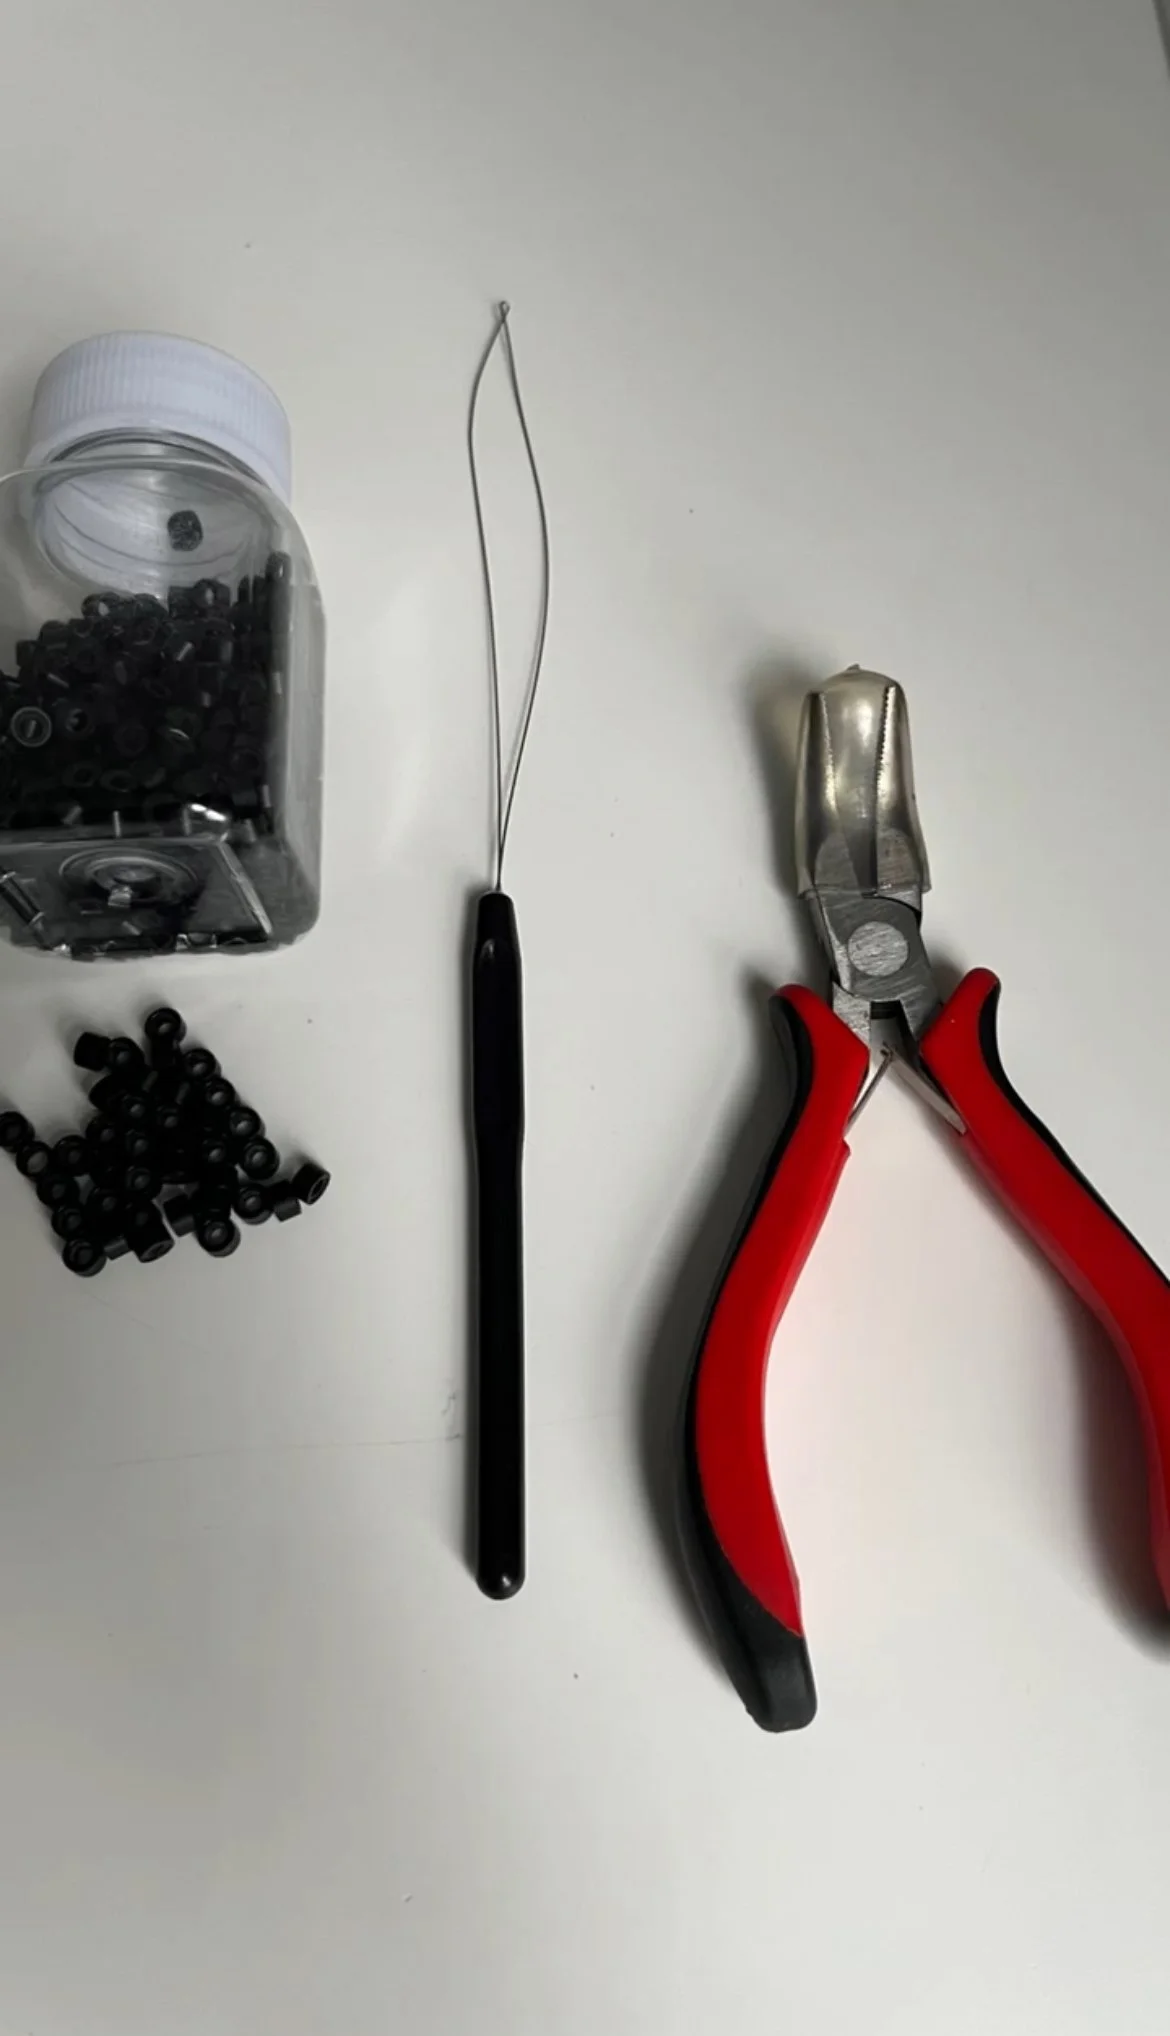
I-tip extensions are attached strand by strand, using a loop tool, beads, and pliers to secure each extension. This meticulous process ensures that the installation looks natural and remains comfortable throughout the wear.
Loop Tool – To thread your natural hair through the bead.
Beads – Used to secure the extension strand to your natural hair.
Pliers – To flatten the beads and secure the extension.
The tools are essential for achieving a neat and secure install, which is crucial for both the look and longevity of the extensions. A neat installation ensures there is no tugging or pulling on your natural hair, which helps prevent breakage and discomfort.
Styling and Maintenance
One of the key benefits of I-tip extensions for curly hair is that they allow you to maintain your regular hair care routine. Since your scalp is accessible, you can wash and moisturize your hair as usual. This is particularly important for curly hair, which thrives on moisture.
This client also has a keratin treatment in her hair. I find that keratin treatments and hair extensions pair well together. Keratin treatments help smooth the hair and makes managing the extensions easier. Keratin also help fight frizz and humidity, ensuring that the extensions blend seamlessly with your natural hair, whether you're wearing it curly or straight.
Here are a few essential maintenance tips to keep in mind:
Regular Washing – Make sure to wash your hair with a clarifying shampoo at least once a month to prevent product buildup.
Moisturize – Keeping your hair and extensions moisturized is key to maintaining the longevity of the style. Use a moisturizing conditioner on every wash day.
Detangle Gently – Use a wide-tooth comb or detangling brush to gently remove tangles from your hair, working from the ends to the roots.
Move-Up Appointments – After six weeks, you’ll need a move-up appointment, where the extensions are adjusted as your natural hair grows.
Final Results
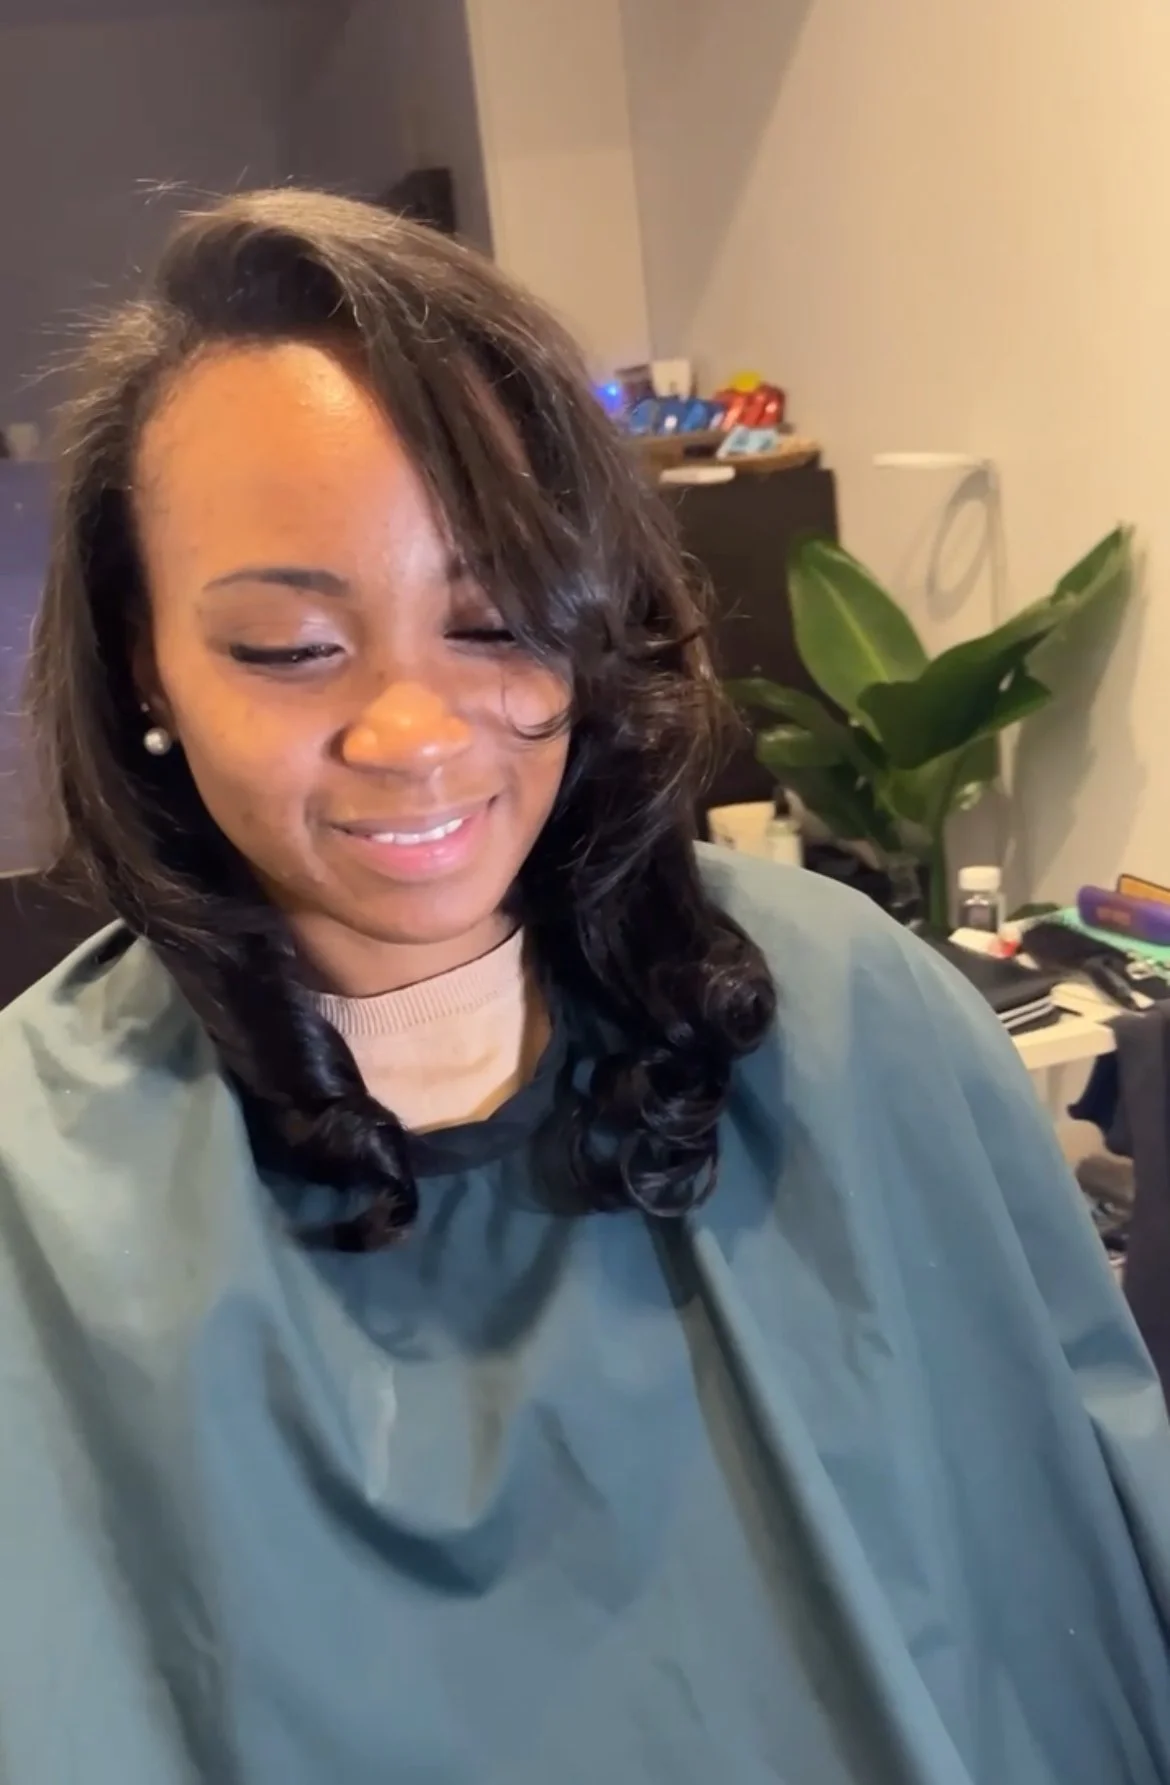
Once installed, the I-tip extensions blend seamlessly with the natural hair, providing fullness and length while remaining virtually undetectable. A high-quality installation can last up to three months, with a move-up appointment required every six weeks. During the move-up, the beads are removed, and the extensions are repositioned closer to the scalp to accommodate natural hair growth.
Who Should Get I-Tip Hair Extensions?
While I-tip hair extensions are fantastic for people who love to care for their hair, they may not be for everyone. If you don't enjoy washing and maintaining your hair regularly, sew-ins or wigs may be a better option since they require less daily maintenance. However, if you love taking care of your curls and want an extension method that allows full access to your scalp, I-tips could be perfect for you.
With proper care, I-tip extensions will enhance your natural curls, giving you the length and volume you desire without compromising the health of your hair.
Interested in I-tip hair extensions? Book a virtual consultation with me, and we'll determine if this method is right for you.

