Why Sew Ins Are The BEST Protective Style
Encourage Hair Growth:
Why Traditional Sew-In Extensions Are the Best Protective Style
*This post contains affiliate links*
Looking for a protective style that promotes healthy hair growth while offering versatility?
Traditional sew-in extensions might be your perfect solution! In this guide, we'll walk through the process of installing traditional sew-ins and explain why they outshine other protective styles like braids. Plus, we'll highlight the essential tools and hair products used to achieve flawless results.
What is a Protective Style?
A protective style is a hairstyle designed to minimize stress on your natural hair, shielding it from environmental damage and promoting healthy hair growth by reducing manipulation and styling. Protective styles keep the ends of your hair tucked away, resulting in less breakage, fewer split ends, and better length retention. Popular protective styles include braids, twists, wigs, and sew-in extensions.
Why Sew-In Extensions are the Best Protective Style
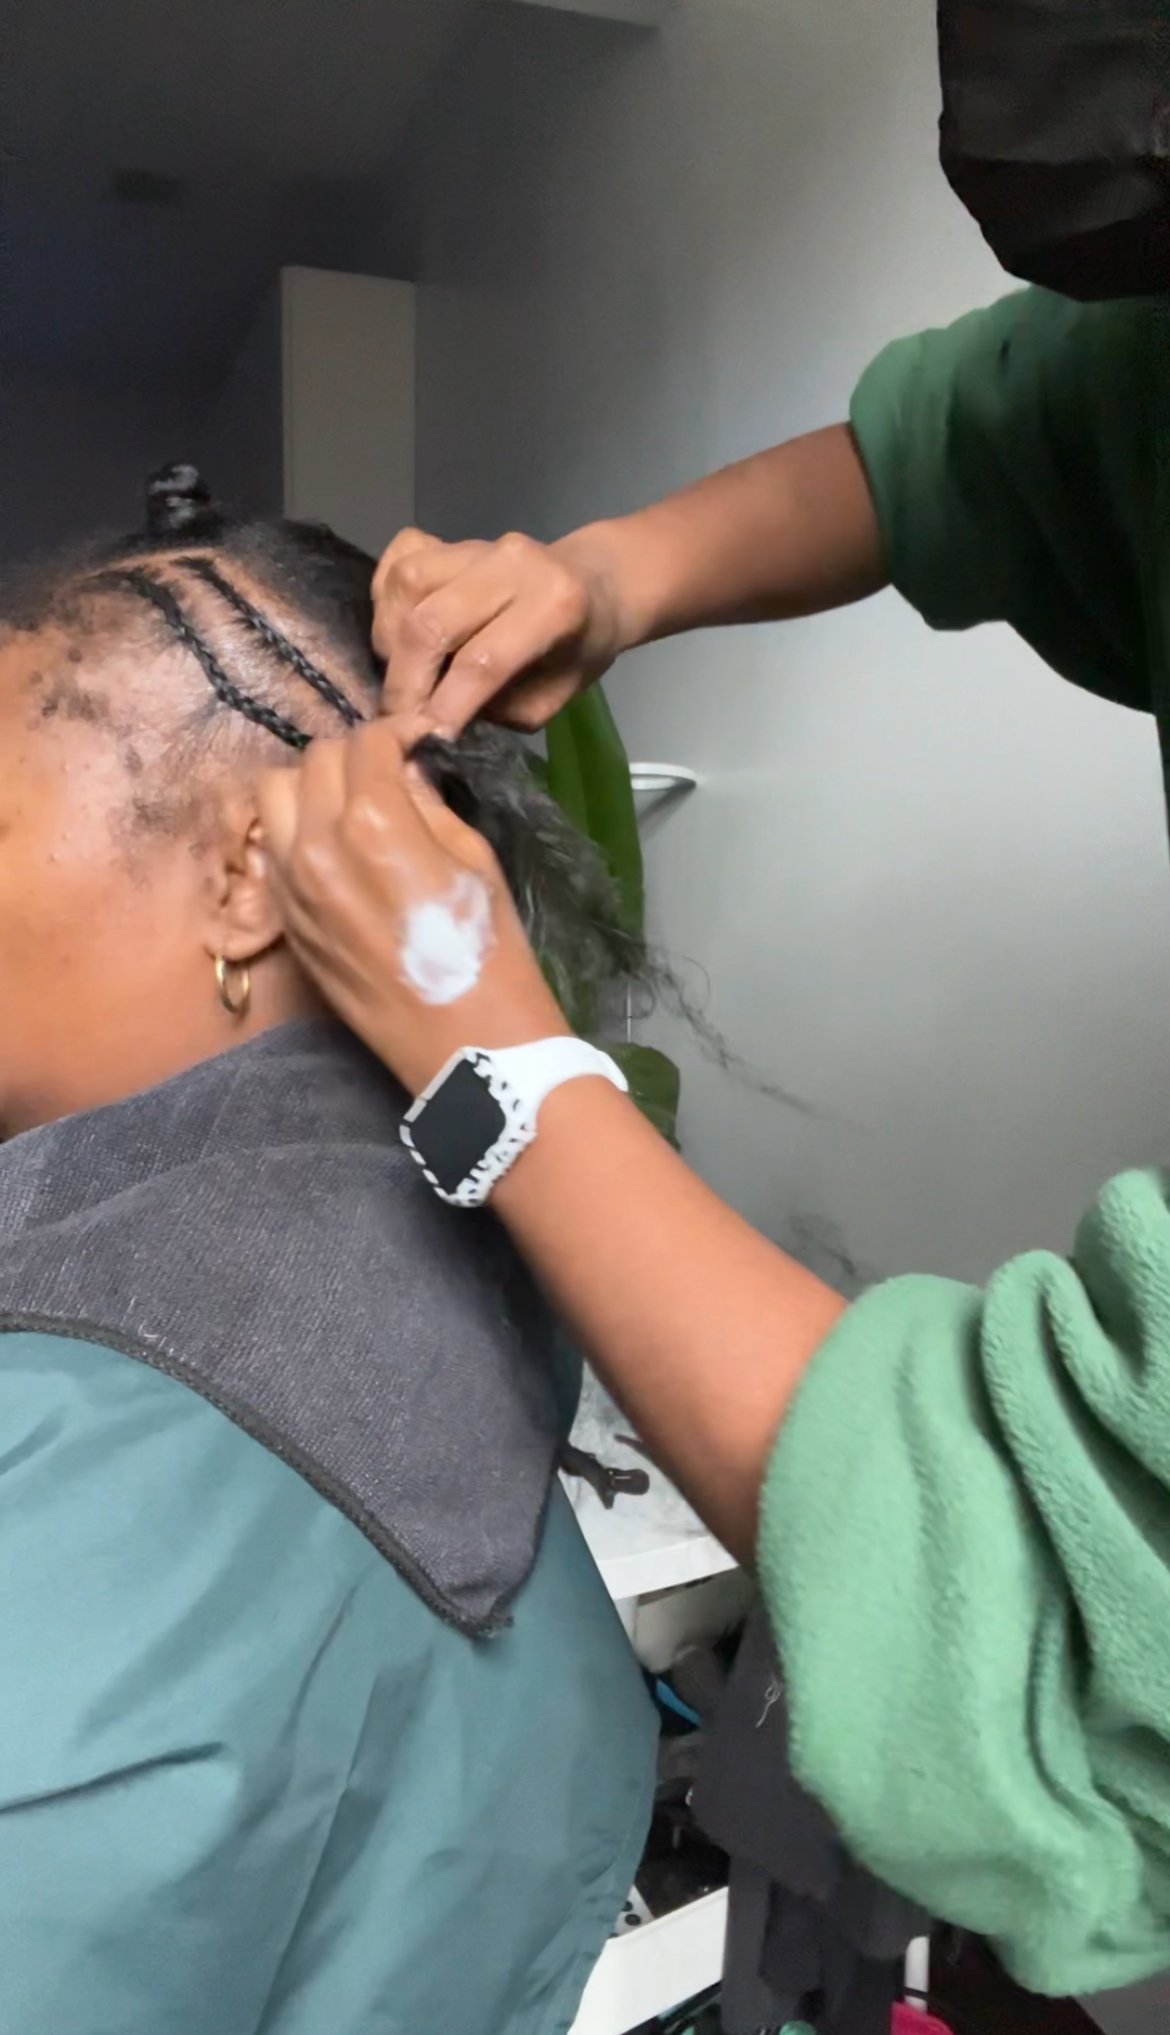
Traditional sew-in extensions involve attaching hair wefts (bundles of hair) to your natural hair by sewing them onto small cornrow braids.
Traditional sew-in extensions offer several advantages over other protective styles:
Less Tension on the Scalp: Sew-ins distribute weight evenly across braids, reducing direct tension and the risk of traction alopecia.
Better Moisture Retention: Hair is tucked away, shielding it from moisture loss and environmental stress.
Versatility: Extensions allow you to experiment with different textures, colors, and styles without damaging your natural hair.
Easier Maintenance: Unlike other styles, sew-ins make it easier to wash and care for your natural hair without ruining the look.
Step-by-Step Sew-In Installation Process
Step 1: Clarify and Cleanse for a Healthy Foundation
Start with clean hair using the Volume Shampoo, a plant-based clarifying shampoo infused with bentonite clay to gently remove impurities and product buildup while maintaining moisture.
Clean, clarified hair reduces buildup and allows the scalp to breathe, which is essential for healthy hair growth and retention.
Step 2: Deep Conditioning to Strengthen and Moisturize
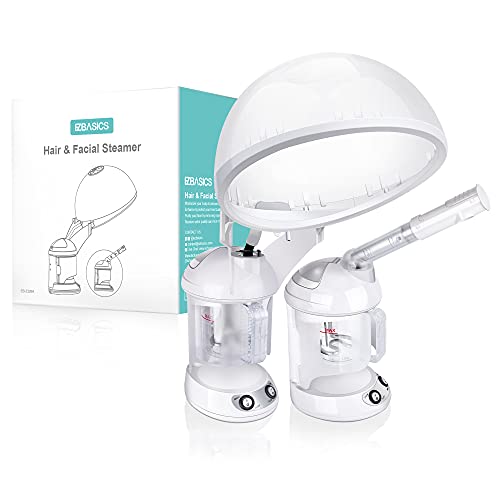
Apply the Deep Repair Treatment, enriched with keratin protein and sunflower oil, to strengthen and moisturize hair. Follow up with a steam treatment to deeply hydrate both hair and scalp.
Deep conditioning ensures your hair is strong enough to handle the weight of extensions, reducing the risk of breakage and split ends.
Step 3: Apply Leave-In Conditioner for Lasting Hydration
Use the Emergency Miracle Treatment, a lightweight leave-in conditioner that hydrates hair from the inside out, preventing product buildup and keeping the hair soft and manageable.
Proper hydration prevents dryness and breakage during the wear of your sew-in, supporting healthy length retention.
Step 4: Heat Protection Before Blow Drying to Prevent Damage
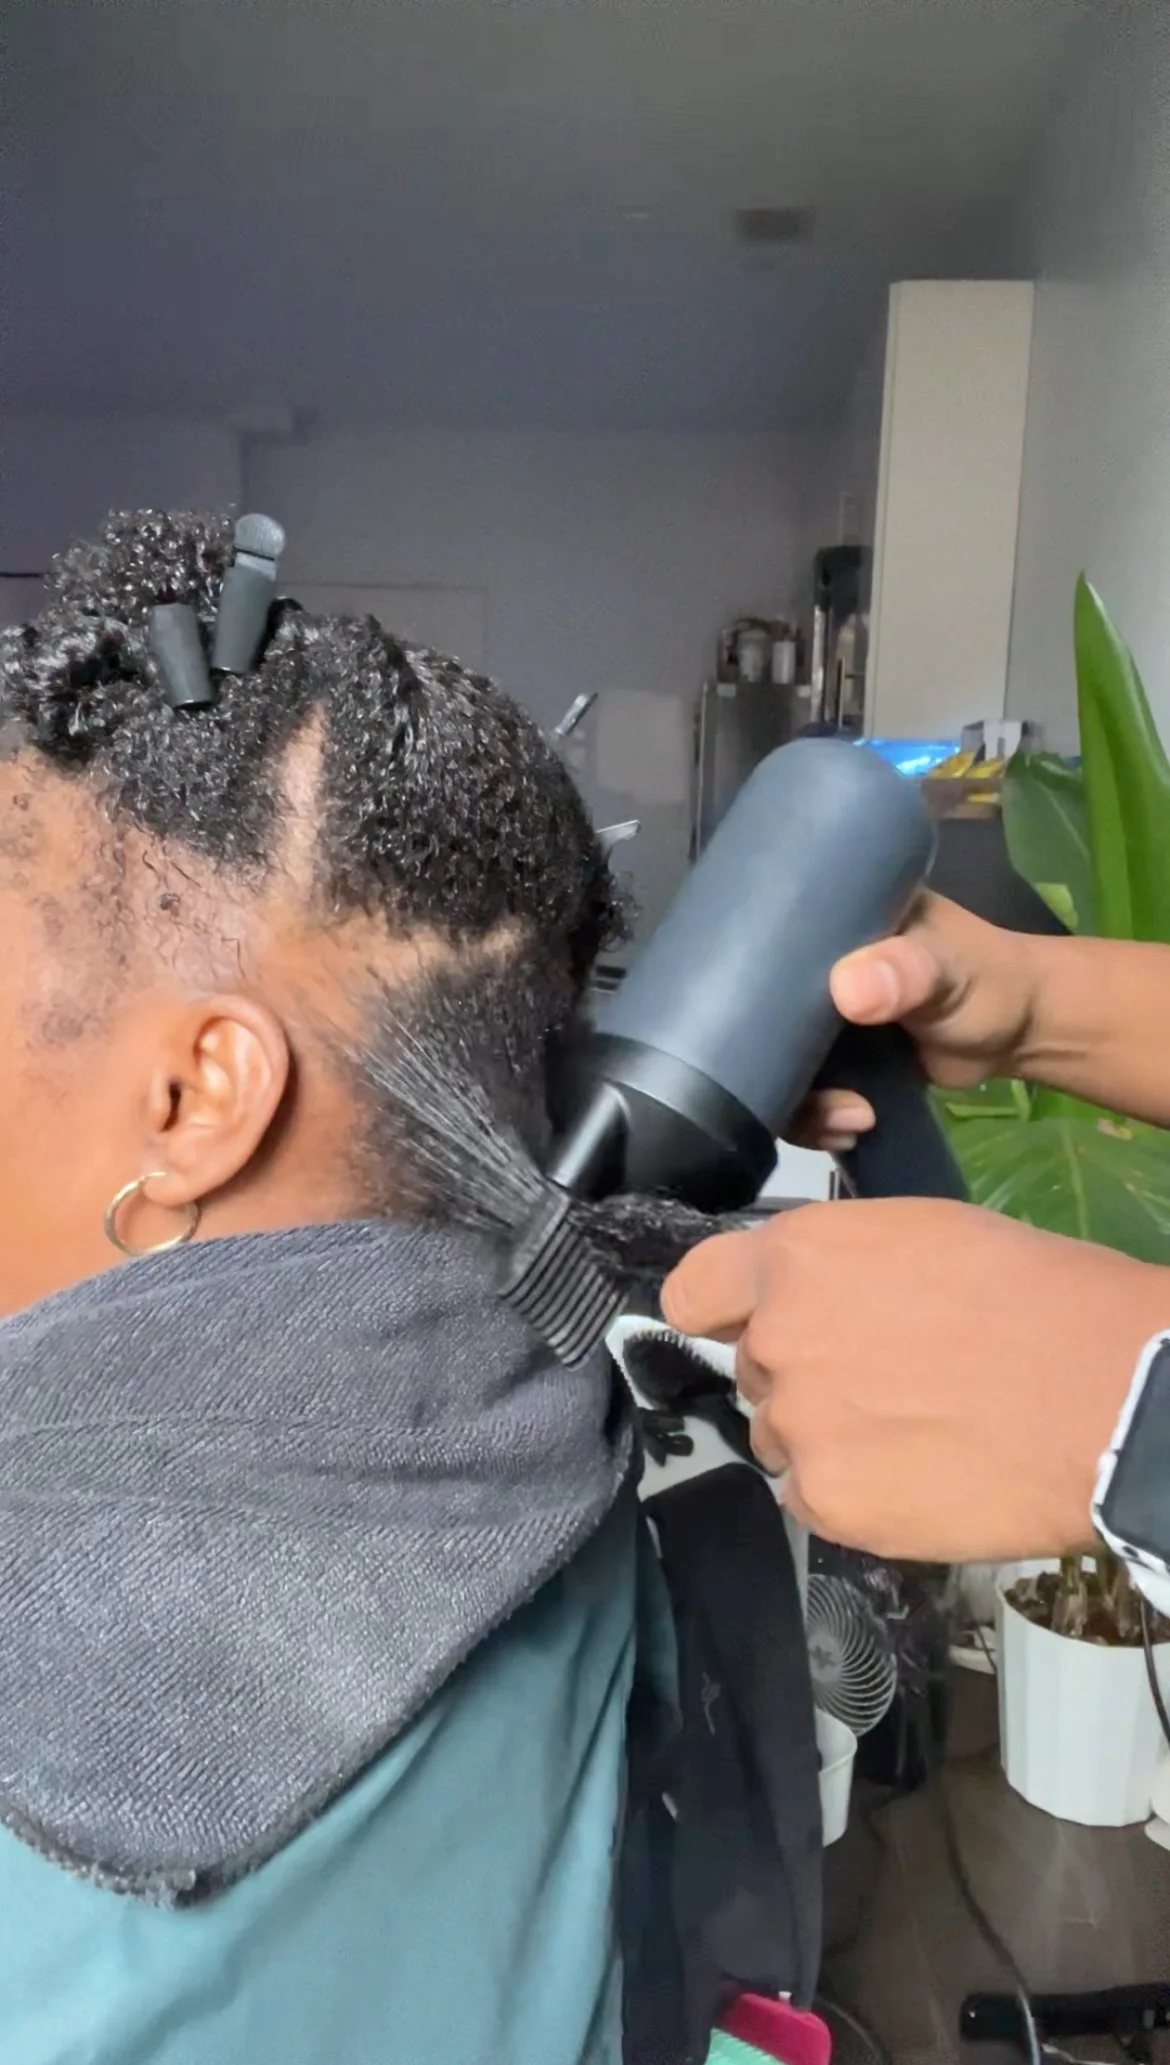
Protect hair with Le Deux Blow Dry Cream to lock in moisture and prevent dryness during blow-drying.
Finish with Amethyst Oil, which adds an extra layer of heat protection and seals in moisture.
Heat protection minimizes moisture loss, keeping your hair healthy throughout the styling process.
Step 5: Trim Dead Ends for Stronger Hair
A light trim eliminates split ends, strengthening the hair and preparing it to support the weight of the extensions.
Removing damaged ends ensures your hair can withstand the tension of the sew-in, reducing breakage and promoting healthy growth.
Step 6: Braid Down with Flex Paste for Scalp Comfort
Use Flex Paste, a non-greasy braiding gel with bentonite clay, to create neat cornrows. This product is perfect for fine hair as it adds bulk and strength without weighing hair down.
The even distribution of weight in braids reduces scalp tension, lowering the risk of traction alopecia and scalp irritation compared to tighter styles like individual braids.
Step 7: Install Extensions for Versatile Styling
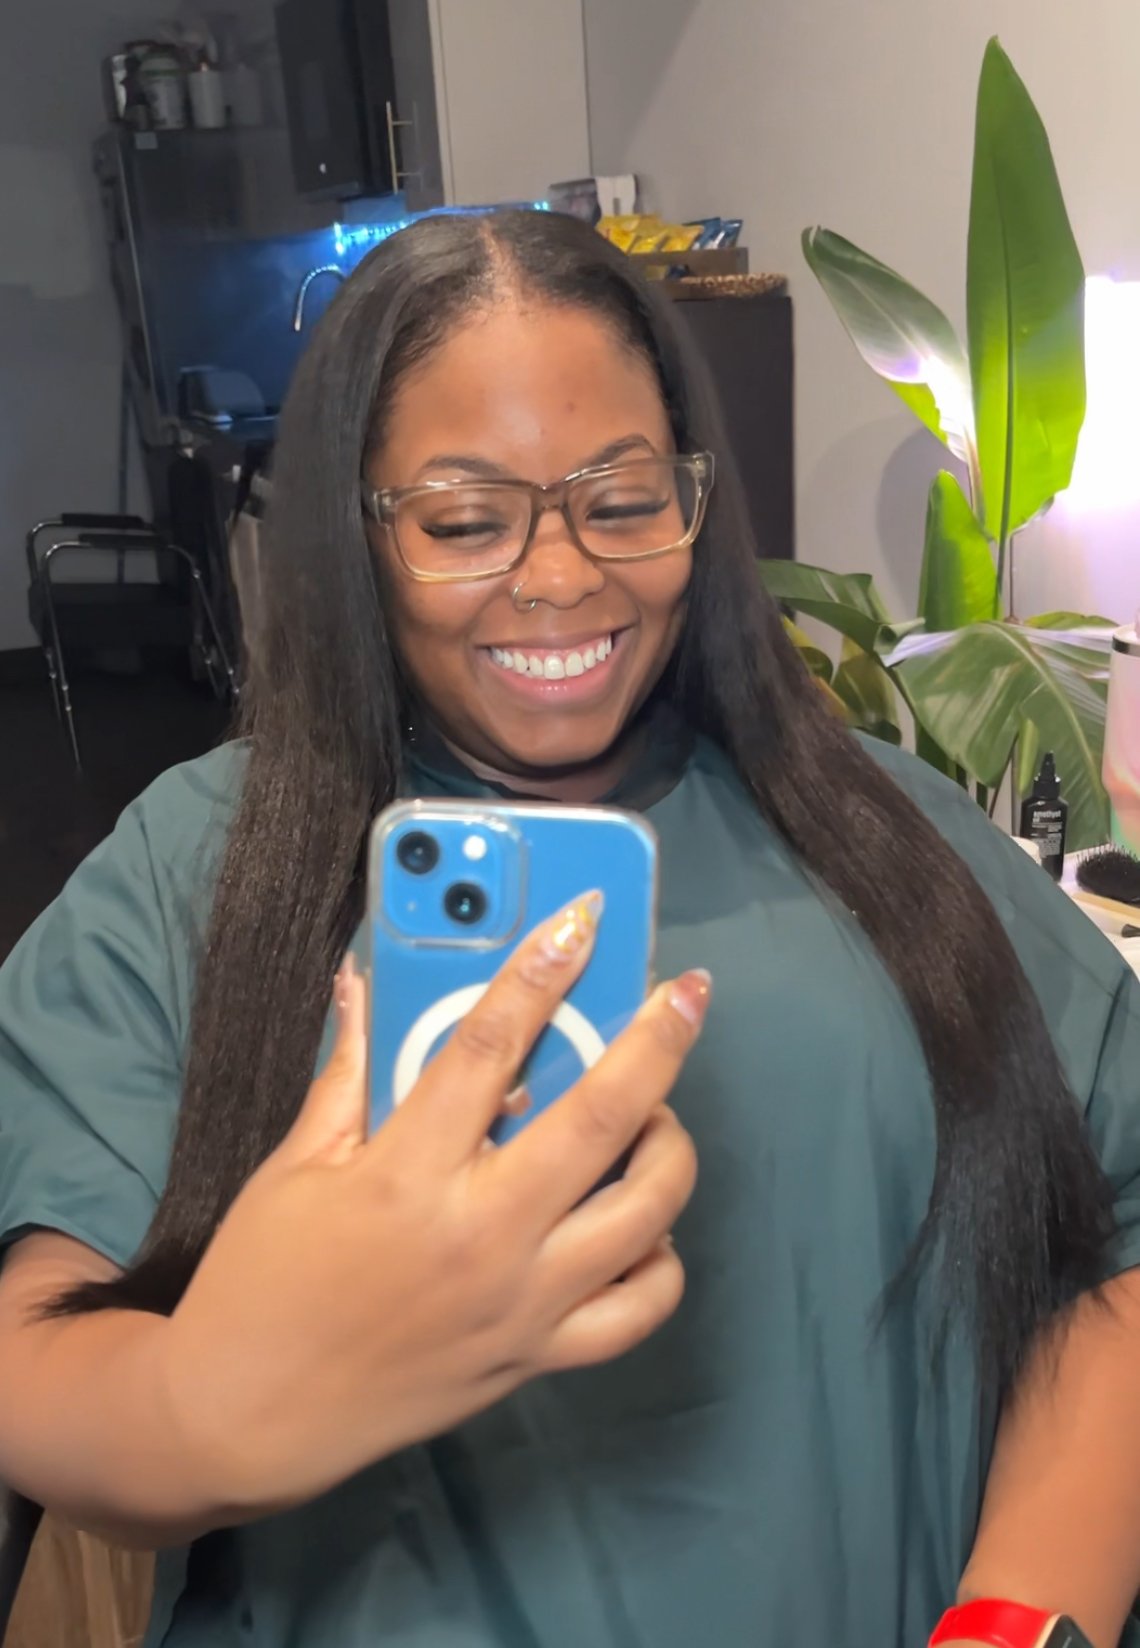
Sew in 20-inch kinky straight extensions, which blend seamlessly with natural hair. This texture offers styling versatility while protecting your natural strands underneath.
Sew-ins allow you to experiment with different styles, textures, and colors without damaging your natural hair.
Step 8: Blend and Style for a Flawless Finish
Finish by flat ironing the leave-out section, using Amethyst Oil for a silky, smooth finish. This creates a flawless, natural look that seamlessly blends with the extensions.
A well-blended install looks natural and allows for easy maintenance, including the ability to wash and care for your natural hair without disturbing the style.
Final Thoughts
Traditional sew-in extensions are the ultimate protective style for promoting hair growth, reducing breakage, and offering styling versatility. By using the right tools and high-quality products, you can achieve a seamless and long-lasting sew-in that keeps your natural hair healthy and thriving.
Ready to learn more about maintaining your sew-in for maximum hair growth? Check out this next blog post with tips on caring for your extensions!


